Create a New Notes Query
Learn how to create a new Notes Query to search through EMR notes. This step-by-step guide shows you how to fill in the query details, add keywords, configure filters, and save your query.
Step 1: Open the Notes Query Builder
When you open the Notes Explorer, you'll see the Notes Query Builder interface. Initially, the form is empty and ready for you to fill in your search criteria.
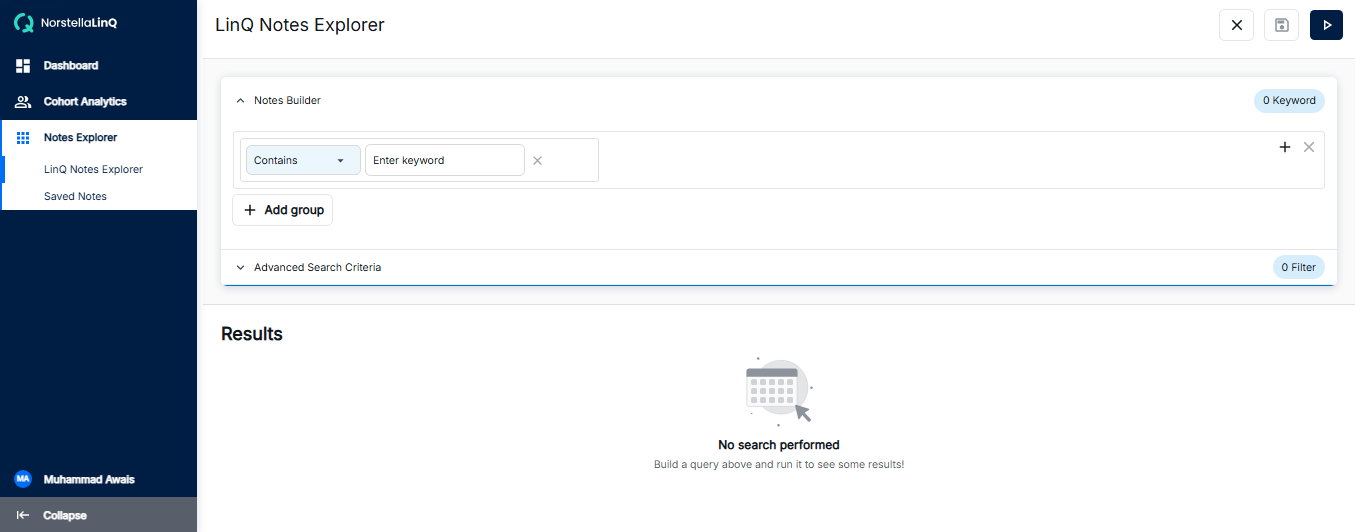
Notes Query Builder - Empty form ready for input
The empty form contains the following sections:
- Notes Builder: The main area where you define your search criteria
- Condition Dropdown: Select how keywords should match (Contains, Does Not Contain, etc.)
- Keyword Input: Enter your search terms here
- Add Group: Add additional keyword groups for complex queries
- Advanced Search Criteria: Expand for additional filtering options
Step 2: Fill in Your Query Details
Enter your search criteria by selecting the appropriate condition and typing your keywords. You can add multiple keywords and create groups with AND/OR logic.
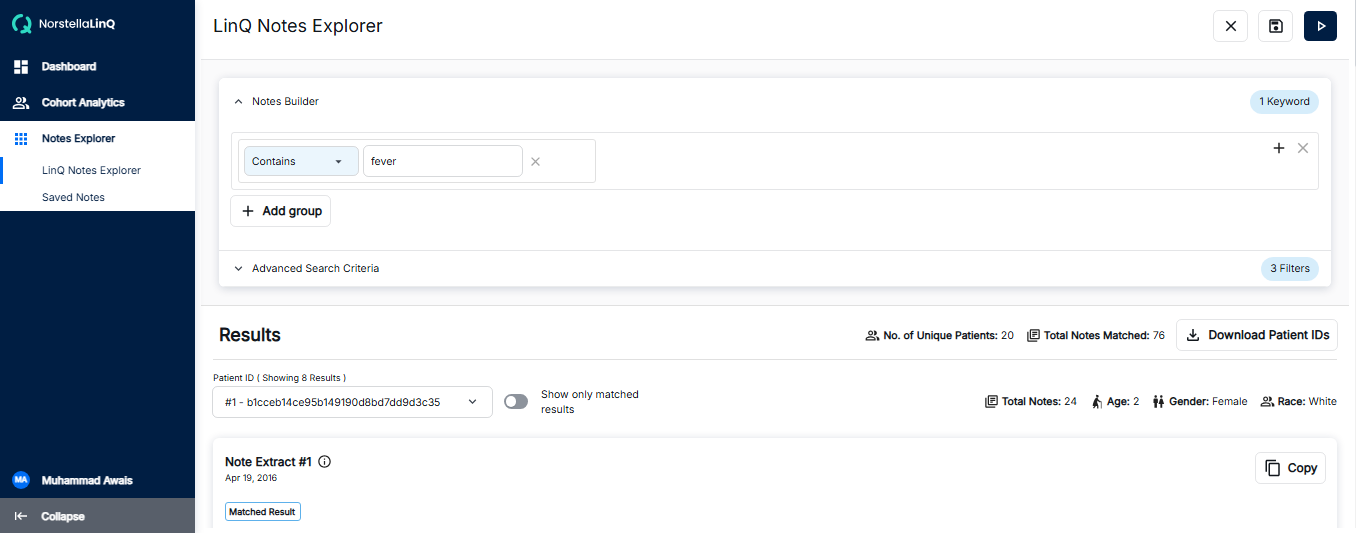
Notes Query Builder - Example with filled details
How to fill in the details:
- Select Condition: Choose "Contains" to find notes that include your keywords, or "Does Not Contain" for exclusion
- Enter Keywords: Type your search terms in the input field. You can enter multiple keywords separated by commas
- Add Groups (Optional): Click "+ Add group" to create additional search groups with AND/OR operators
- Configure Advanced Filters: Expand "Advanced Search Criteria" to add date ranges, note types, or other filters
Step 3: Save Your Query
After filling in your query details, click the Save button to save your query for future use. A dialog will appear asking you to provide a name for your query.
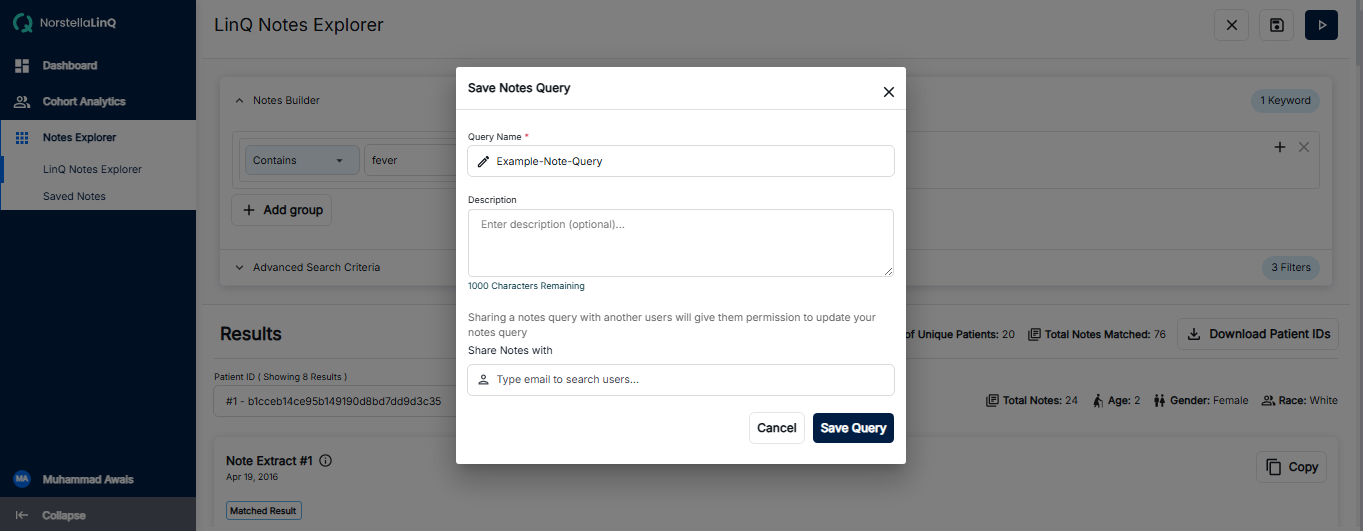
Save Query Dialog - Enter a name and save your query
To save your query:
- Click the Save button in the top-right corner of the Notes Builder
- Enter a descriptive name for your query in the dialog
- Click Save to confirm
- Your query will now appear in the Saved Notes section for easy access
After Saving
Once your query is saved, you can:
- Run the Query: Click the Run (▶) button to execute and view results
- Access Later: Find your saved query in the Saved Notes section
- Edit: Modify the query parameters and re-save if needed